Complete walkthrough to your first AI Bot in Slack
Picture from here, courtesy of Kindel Media (thank you!)
In this post, I will run a complete walkthrough of creating a AI Bot connected to a Slack workspace.
I will start by explaining how to create a simple AI bot (local) using anthropic as LLM. Then I will extend it to a slack bot and go through the setup of a slack application.
Finally, I will demonstrate the result and give some pointers to the next steps to make you bot actually deployed and useful.
Simple AI Bot
Let’s start building a very simple AI Bot.
For this purpose, I will use Python3, uv for packaging, Anthropic for the LLM (and Anthropic SDK).
Let’s start building our little project:
mkdir simple-ai-agent && cd simple-ai-agent
You should have python 3 already there, please install uv if needed, then init the project:
uv init
Rename main.py to agent.py:
mv main.py to agent.py
Let’s create a pyproject.toml with the following content:
[project]
name = "simple-ai-agent"
version = "0.1.0"
requires-python = ">=3.11"
dependencies = [
    "anthropic>=0.40",
]
And write a very simple agent.py:
import anthropic

client = anthropic.Anthropic()
conversation: list[dict] = []


def chat(user_input: str) -> str:
    conversation.append({"role": "user", "content": user_input})
    response = client.messages.create(
        model="claude-sonnet-4-6",
        max_tokens=1024,
        system="You are a helpful assistant. Be concise and friendly.",
        messages=conversation,
    )
    reply = response.content[0].text
    conversation.append({"role": "assistant", "content": reply})
    return reply


if __name__ == "__main__":
    print("AI Agent ready. Type 'exit' to quit.")
    while True:
        user_input = input("You: ").strip()
        if user_input.lower() in ("exit", "quit"):
            break
        if not user_input:
            continue
        print(f"Agent: {chat(user_input)}")
We will need an Anthropic API Key.
Open your anthropic console
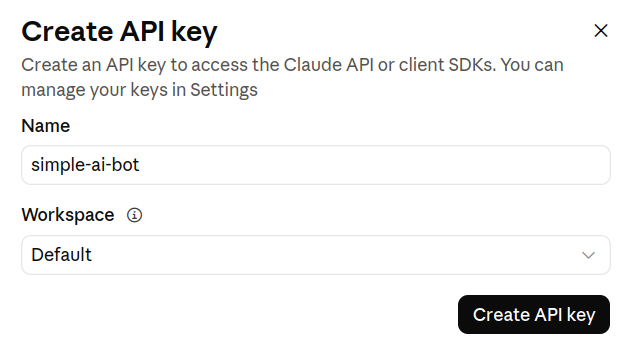
On the main page, click on “Get API Key”:

Choose a name for the key and create:
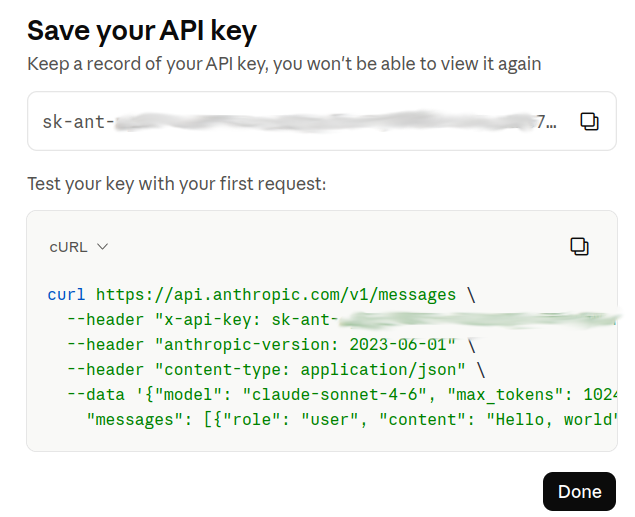
You get your API key, save it locally:
At this point, you can run your AI bot. First set your API Key locally:
export ANTHROPIC_API_KEY=sk-ant-abcdef123456abcedef123456a
Run your agent:
uv run agent.py
And start discussing with your AI bot!
$ uv run agent.py
AI Agent ready. Type 'exit' to quit.
You: Hello there
Agent: Hello! How are you doing today? Is there something I can help you with?
Great, let’s make it a slack bot now!
Extend AI bot with slack capabilities
First add slack-bolt to the list of project dependencies (in pyproject.toml):
So our pyproject.toml will now looks like this:
[project]
name = "simple-ai-agent-slack"
version = "0.1.0"
requires-python = ">=3.11"
dependencies = [
    "slack-bolt>=1.21",
    "anthropic>=0.40",
]
This is the module that we will use for slack integration.
I won’t details into building the thing, but basically we need some capabilities:
- Setup from slack app token and slack bot token
- Listen some events
- Handle correctly threads (what is followed and context)
The final code would look like this:
import os
from slack_bolt import App
from slack_bolt.adapter.socket_mode import SocketModeHandler
import anthropic

app = App(token=os.environ["SLACK_BOT_TOKEN"])
claude = anthropic.Anthropic()

# Threads where the bot has participated — used to pick up follow-up replies
active_threads: set[tuple[str, str]] = set()


def fetch_thread_messages(client, channel: str, thread_ts: str) -> list[dict]:
    result = client.conversations_replies(channel=channel, ts=thread_ts)
    bot_user_id = client.auth_test()["user_id"]
    messages = []
    for msg in result["messages"]:
        is_bot = msg.get("user") == bot_user_id or bool(msg.get("bot_id"))
        # Strip bot mention prefix from first message so Claude doesn't see its own name
        text = msg.get("text", "").strip()
        messages.append({"role": "assistant" if is_bot else "user", "content": text})
    # Ensure conversation starts with a user message (Claude requirement)
    while messages and messages[0]["role"] == "assistant":
        messages.pop(0)
    return messages


def reply(client, say, channel: str, thread_ts: str) -> None:
    messages = fetch_thread_messages(client, channel, thread_ts)
    if not messages:
        return
    response = claude.messages.create(
        model="claude-sonnet-4-6",
        max_tokens=1024,
        system="You are a helpful assistant in a Slack workspace. Be concise and friendly.",
        messages=messages,
    )
    say(text=response.content[0].text, thread_ts=thread_ts)


@app.event("app_mention")
def handle_mention(event, client, say):
    channel = event["channel"]
    thread_ts = event.get("thread_ts", event["ts"])
    active_threads.add((channel, thread_ts))
    reply(client, say, channel, thread_ts)


@app.event("message")
def handle_message(event, client, say):
    if event.get("bot_id") or event.get("subtype"):
        return
    channel = event["channel"]
    thread_ts = event.get("thread_ts")
    if not thread_ts or (channel, thread_ts) not in active_threads:
        return
    reply(client, say, channel, thread_ts)


if __name__ == "__main__":
    handler = SocketModeHandler(app, os.environ["SLACK_APP_TOKEN"])
    print("Agent is running...")
    handler.start()
Running this as-is will not work since we need slack tokens:
$ uv run agent.py
Traceback (most recent call last):
[...]
KeyError: 'SLACK_BOT_TOKEN'
Let’s obtain our slack tokens!
Slack Application Setup
For this step you would need a Slack workspace (your personal one to start would be fine).
Let’s create the Slack Application for our AI bot!
Connect to your account in Slack or in your browser then visit api.slack.com/apps/
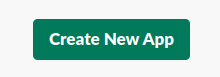
Then click on “Create New App”.
Choose “From Scratch”

Name your App, here “aibot” and select the workspace.
Then click on “Create App” button.

Slack sends you to the basic information view.
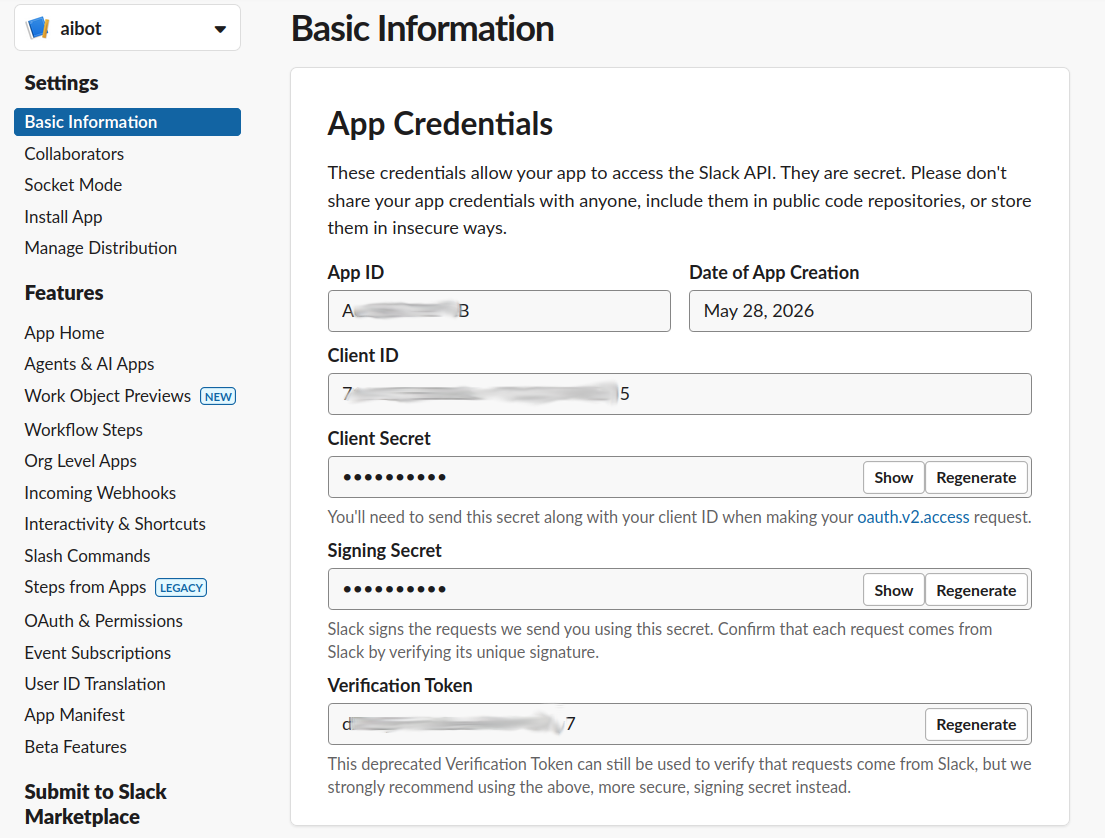
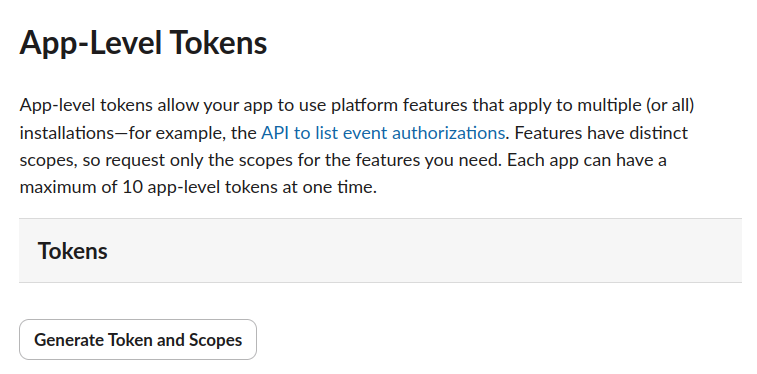
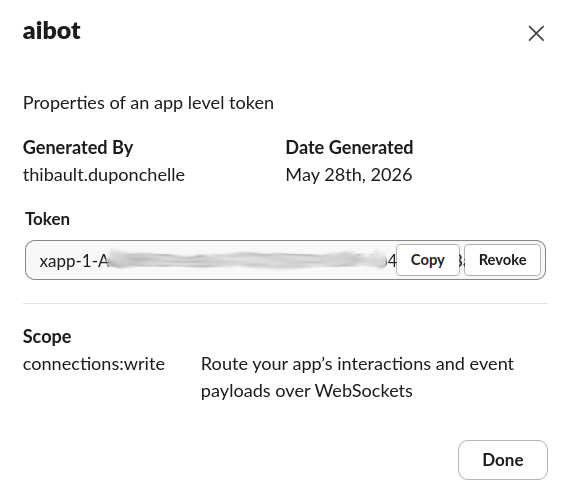
Scroll down to the section “App-Level Tokens”.
Click on “Generate Token And Scopes”:
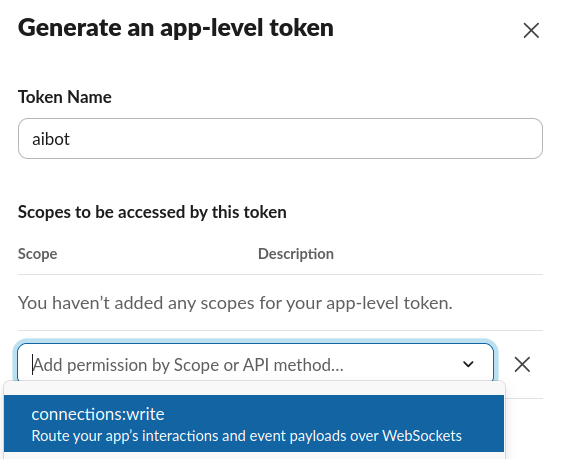
Name your token, here “aibot”.
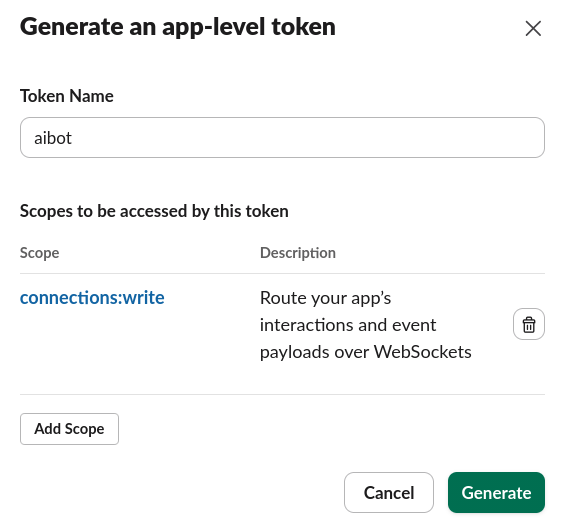
And select connections:write as a scope:
Then click on “Generate”:
You will get your app token, store it somewhere (but you can access again later if needed):
Scroll down again to fill the Display Informations section.
Give a name, here “aibot”, choose a color and get a nice avatar.
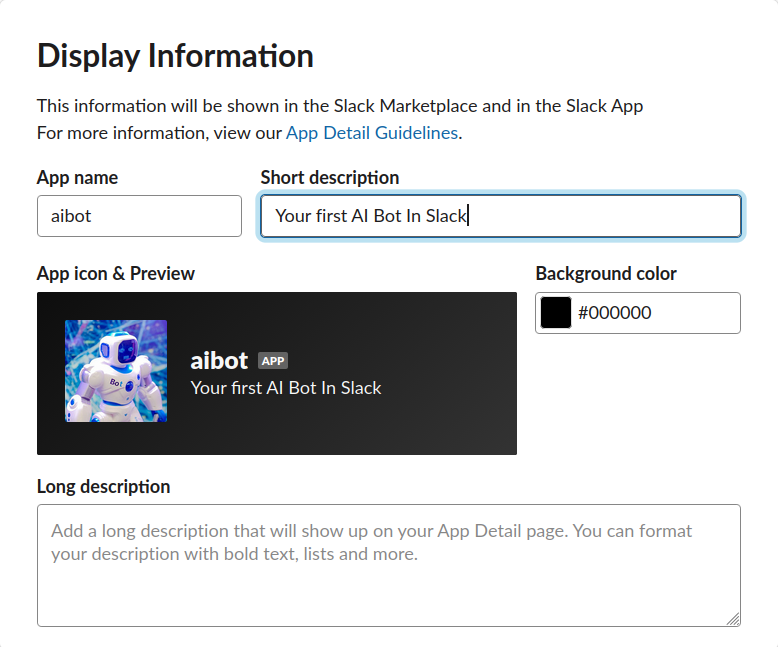
My avatar was taken from here, free to use picture courtesy of Kindel Media (thank you!)
It has to be square, so crop it to 512x512 (or slightly bigger but square).

Save your changes!

On the side bar, click on Socket Mode and enable Socket Mode :)
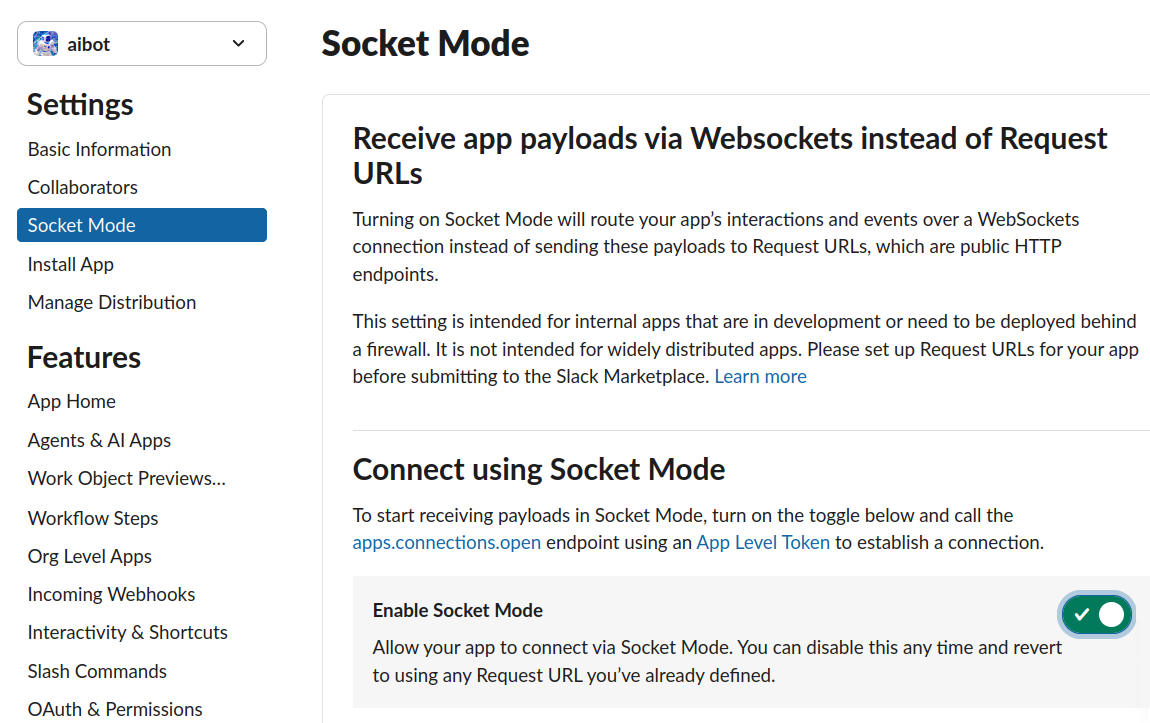
The Socket Mode acts architecturally as a reverse tunnel, making the bot initiating the connection and interacting via websockets.
Now click on Events Subscriptions, and toggle “Enable Events” to On:

Scroll down to add events to be watched:
app_mentionssince we want bot to respond to mentions to its handlemessage.channelssince we want bot to listen to messages (in the same thread where it was mentionned earlier)
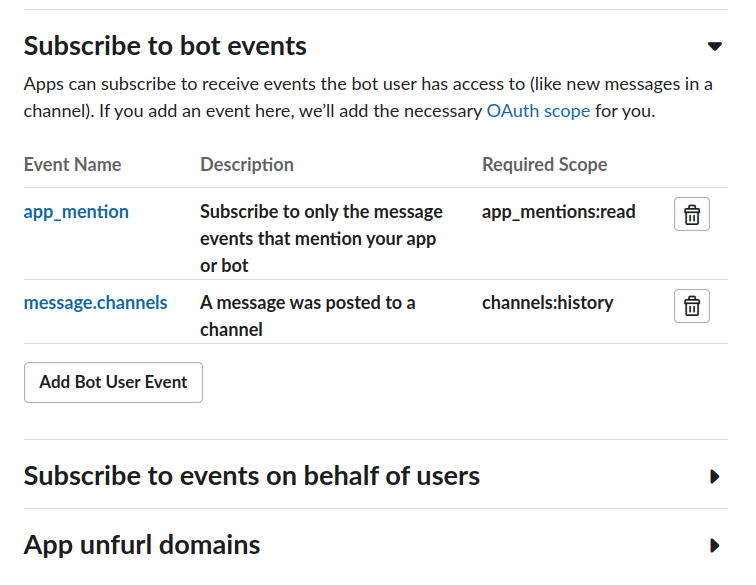
Save your changes!

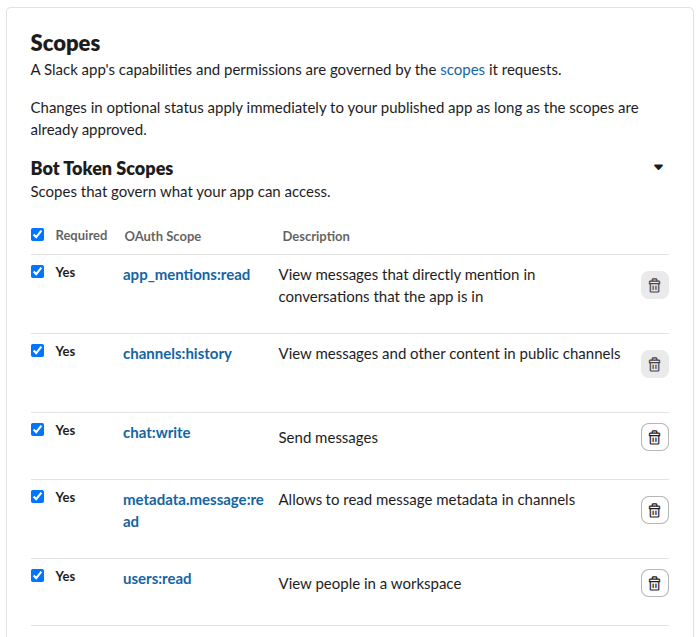
Now click on “OAuth & Permissions” on the side bar:
Add all the scope like below:
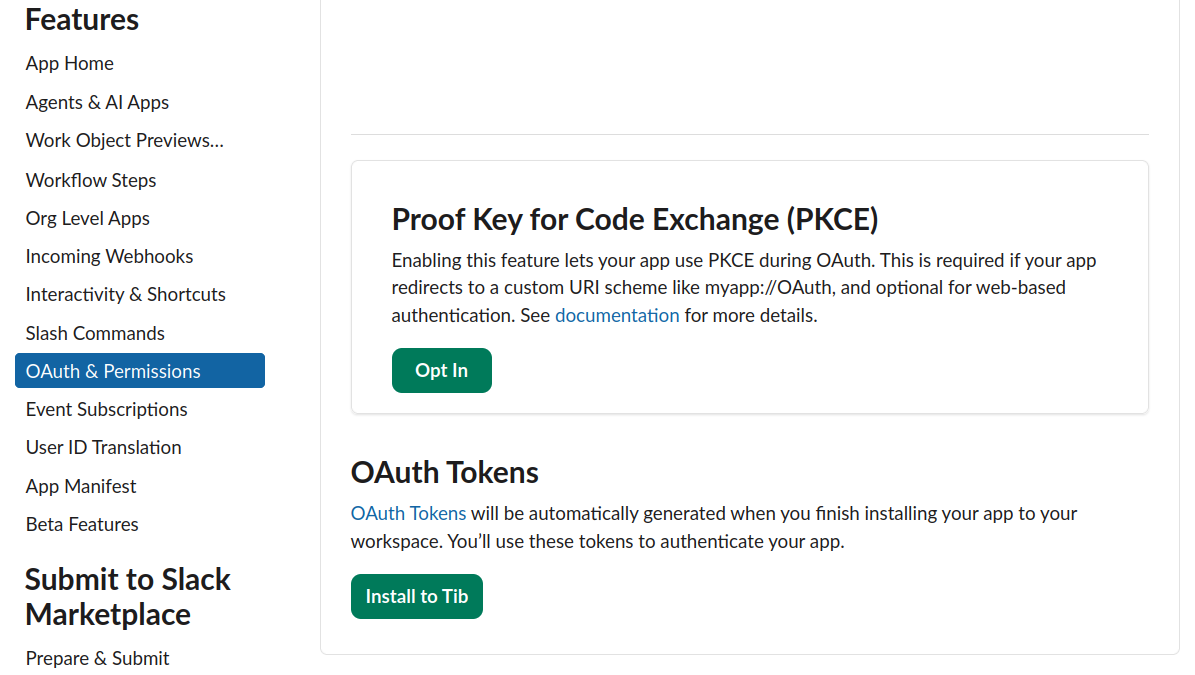
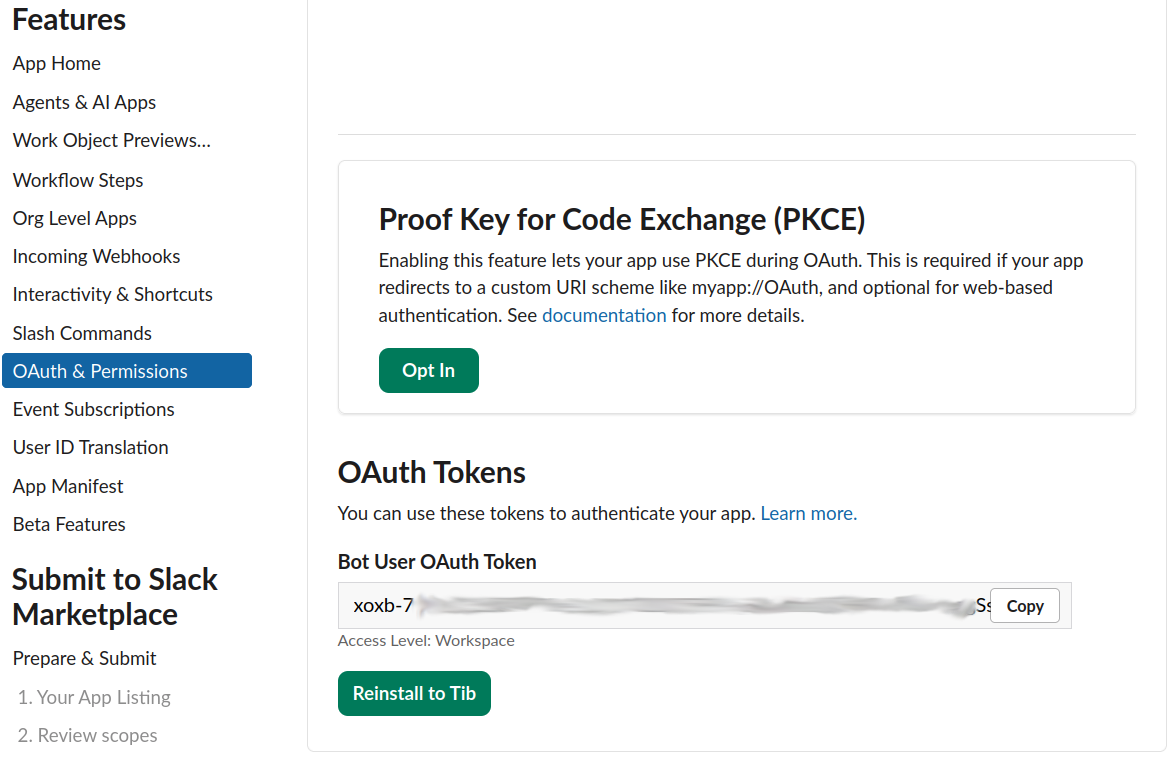
Scroll up now to the section “OAuth Tokens” to “Install To …” your freshly created App.
You get the bot token now, save it somewhere.
The Result
Set your slack token locally:
$ export SLACK_BOT_TOKEN=xoxb-abcdef123456abcdef123456o
$ export SLACK_APP_TOKEN=xapp-abcdef123456abcdef123456f
You can now make your AI bot alive and reachable in your slack:
$ uv run agent.py
Agent is running...
⚡️ Bolt app is running!
Go to your slack, add bot to your channel, then start chatting!
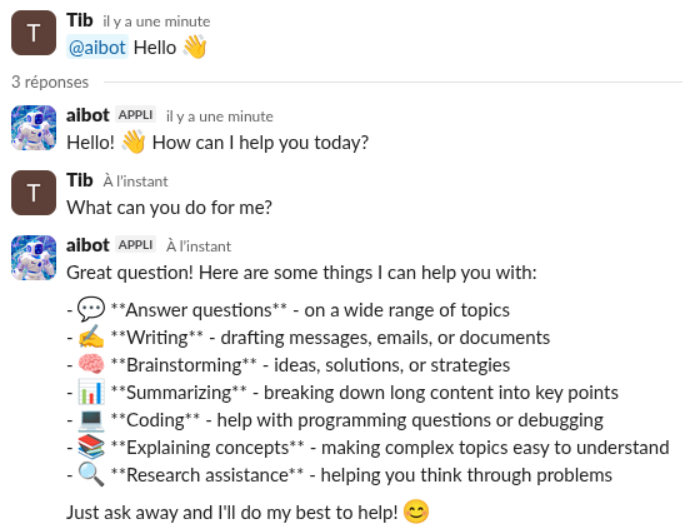
Going further
At this point, you have a simple (dummy) bot that can interact with people in Slack.
Architecturally, Socket Mode is great and acts as a reverse tunnel. It means it does not need your bot to be publicly accessible in the internet. Having your bot running locally and accessible in Slack proves how handy it is. And your security team will be overly happy with that.
Operationnally, it can run anywhere, from a bare metal server or EC2 to a Kubernetes pod. This second option is not difficult (a deployment, a network policy, install secrets in secrets manager and load them via “envFrom.secretRef”, if speaking of GCP) and does not even need any ingress!
Since we are on “Going further” section, some deployment on commit is also a must have ;)
But to start you should extend your bot system prompt and possibly add knowledge to it, so it can actually be more than a Slack interface to the Anthropic LLM. It can be simply loading few files at startup into the AI bot context. Some tooling can be a powerful addition as well as some sort of memory, but this later adds some more operational complexity.
I would maybe write posts extending the bot to be more personnalized and useful, or to demonstrate an operational setup. Or both… But no promises! xD
I hope you enjoyed this walkthrough that I tried to make as simple and detailed as possible :)